
Building an independent power system for camping can seem complex initially, but it’s a rewarding step towards off-grid freedom. This guide is designed to demystify the process, exploring the fundamental components and key considerations for assembling your first functional solar setup. You’ll find the information needed to confidently choose the right elements for your outdoor adventures.
Why a Camping Solar Setup Makes Sense for Beginners

Getting off the grid no longer requires an engineering degree or a five-figure budget. Entry-level solar components have dropped significantly in price over the past several years, and the ecosystem of beginner-friendly gear — portable panels, lithium power stations, and plug-and-play charge controllers — has matured enough that a first-time camper can assemble a functional system in an afternoon. That said, the market is also flooded with overpromising products and misleading watt-hour claims, so knowing what to look for before you spend a dollar is essential.
This guide walks you through the core components of a beginner off-grid power system, explains the specs that actually matter, and helps you avoid the most common first-timer mistakes. Because no specific verified pricing data was available at publication time, we speak in general terms about cost tiers rather than cite figures we cannot confirm — an honest approach that protects you from acting on stale or fabricated numbers.
The Four Building Blocks of Any Camping Solar System
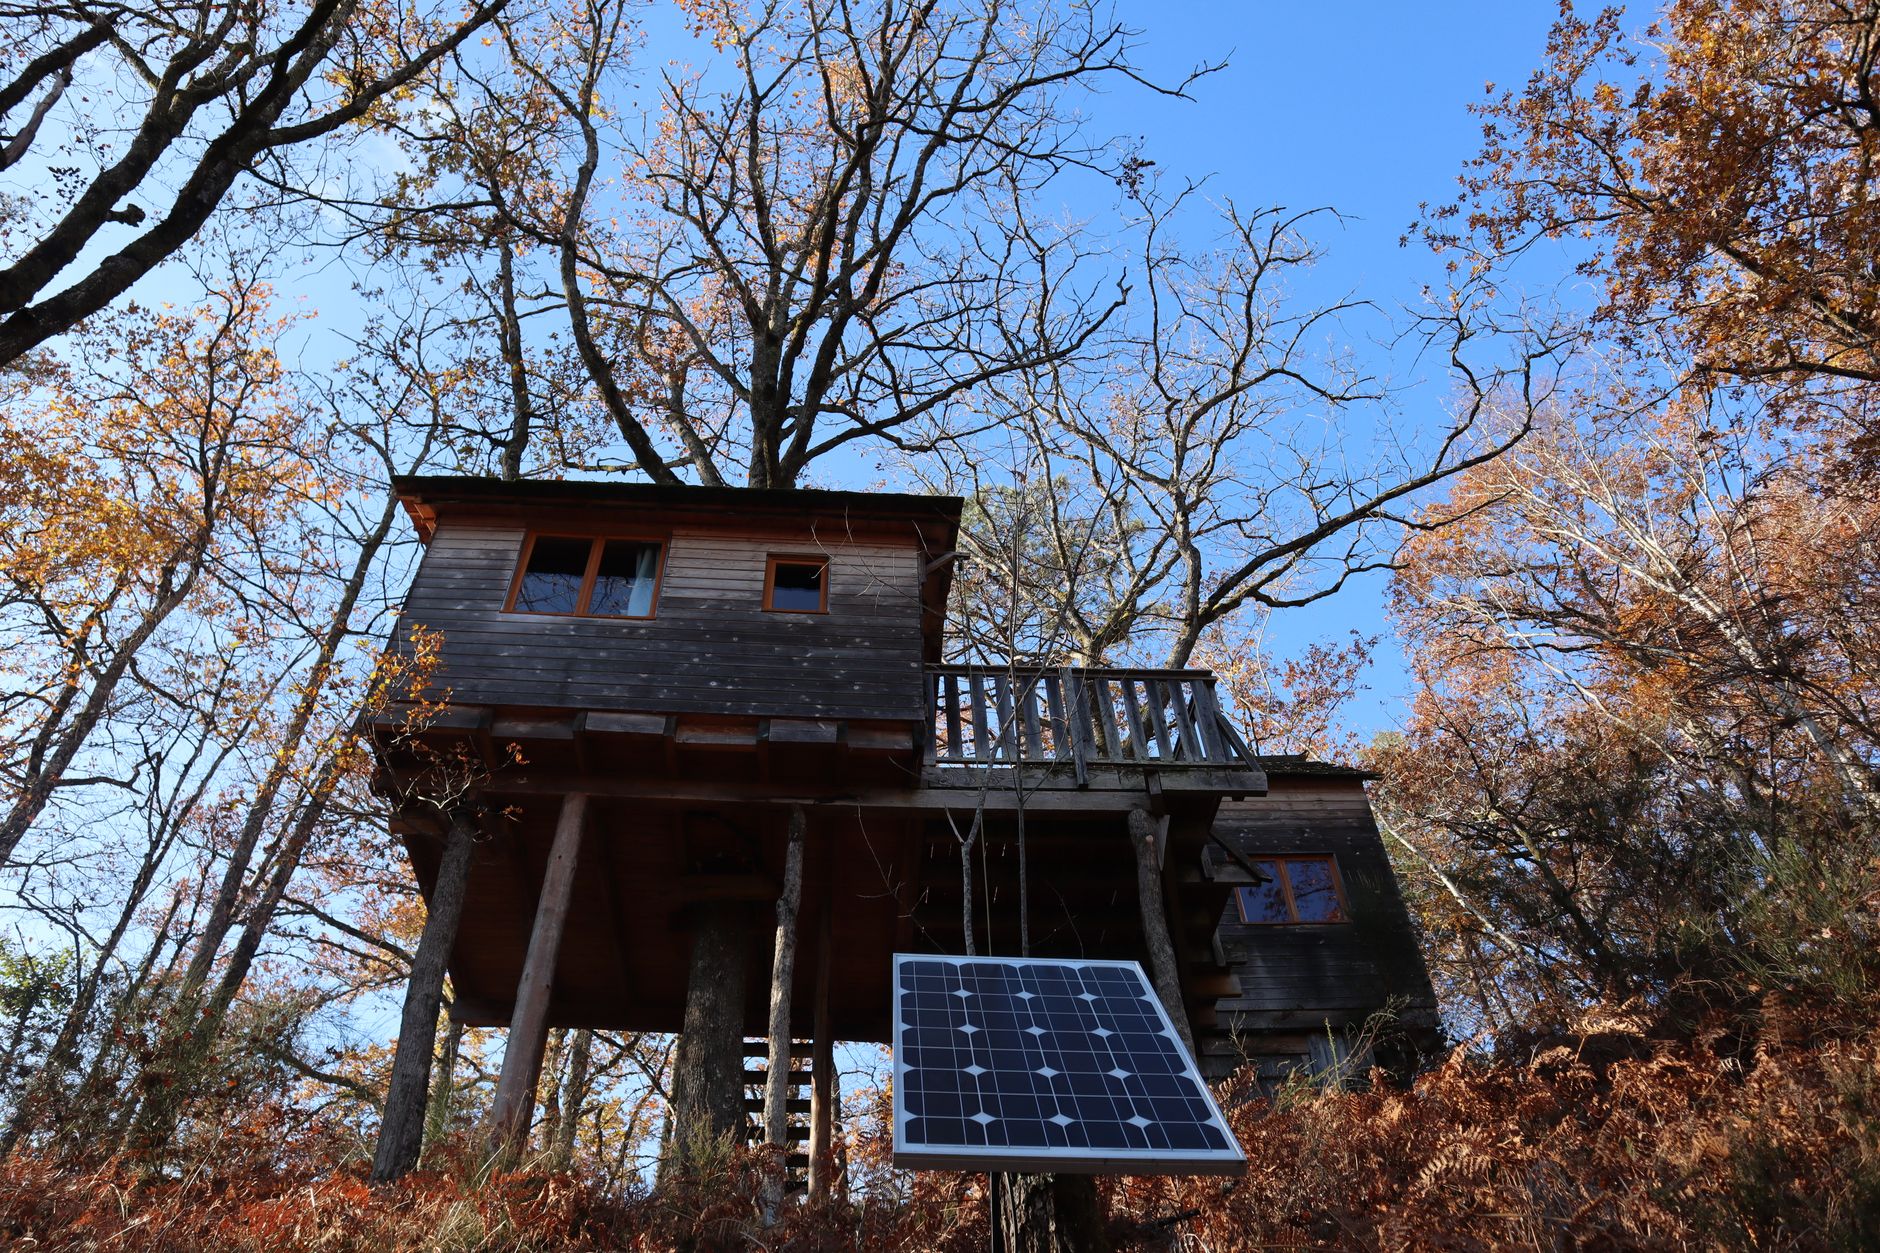
Every functional off-grid setup — from a weekend car-camping rig to a rooftop van system — relies on the same four components working together:
- Solar panels — capture sunlight and convert it to DC electricity
- A charge controller — regulates voltage flowing from panels to battery, preventing overcharge
- A battery bank — stores energy for use when the sun isn’t shining
- An inverter (optional for some setups) — converts stored DC power to AC for standard household devices
Many beginner products bundle these into an all-in-one portable power station — a battery with a built-in charge controller, inverter, and multiple output ports. For most first-time campers, starting with a power station paired with a compatible folding solar panel is the lowest-friction path to a working system. Modular DIY setups offer more flexibility and long-term value but require a basic understanding of wiring and component matching.
Choosing Your Solar Panel: Portable vs. Fixed
For camping beginners, portable folding panels are almost always the right starting point. They require no permanent installation, fold down for easy transport, and can be repositioned throughout the day to follow the sun — a meaningful advantage over fixed panels that can improve real-world output by 20–40% depending on terrain and season.
When comparing panels, focus on these specs:
- Rated wattage: The power output under ideal laboratory conditions (STC). Real-world output is typically 70–80% of this figure on a clear day, less in heat or haze.
- Cell type: Monocrystalline panels are more efficient per square foot than polycrystalline, making them the dominant choice for portable gear where size and weight matter.
- Connector type: Most portable panels ship with MC4 or proprietary connectors. Confirm compatibility with your power station or charge controller before buying.
- IP rating: A panel rated IP67 or IP68 can handle rain and splashing. For camping in variable weather, this matters.
A common beginner mistake is buying too little panel wattage. A panel that is theoretically capable of charging a power station in five hours under perfect sun may take eight to ten hours under realistic cloud cover and angle conditions. When in doubt, size up. best solar panels for camping
Battery Storage: The Heart of Your System
Your battery bank determines how much energy you can use after the sun goes down. For camping, the two dominant battery chemistries are lithium iron phosphate (LiFePO4) and standard lithium-ion (NMC). LiFePO4 has become the preferred choice for off-grid and outdoor applications because of its superior cycle life (typically 2,000–3,500 charge cycles vs. 500–1,000 for NMC), better thermal stability, and safer discharge behavior. Most reputable portable power stations sold today use one of these two chemistries — check the spec sheet before purchasing.
To estimate the battery capacity you need, add up the watt-hour draw of everything you plan to run:
- A typical LED camping lantern: 5–10 Wh per evening
- Phone charging (two phones): roughly 20–30 Wh per day
- A small 12V camping fridge/cooler: 40–80 Wh per day depending on ambient temperature
- A laptop: 30–60 Wh per charge cycle
A beginner weekend camper with a cooler, lights, and device charging typically needs 300–600 Wh of usable storage. Note the word “usable” — battery manufacturers rate total capacity, but you should not routinely discharge a lithium battery below 20% state of charge to protect longevity. Factor that buffer into your planning.
Charge Controllers: Why They Matter Even in Simple Setups
If you purchase a bundled portable power station, the charge controller is already built in — no separate action needed. If you build a modular system, you will need a standalone controller between your panels and battery. The two types are PWM (Pulse Width Modulation) and MPPT (Maximum Power Point Tracking). MPPT controllers are 10–30% more efficient at harvesting energy from your panels and are worth the higher price for any panel array over roughly 100W. For a minimal beginner setup, a quality PWM controller can be adequate. best solar charge controllers
All-in-One Power Stations: The Honest Tradeoff
Portable power stations deserve special attention because they dominate the beginner market — and for good reason. They eliminate wiring complexity, include multiple output types (USB-A, USB-C, AC, 12V car), and are genuinely portable. Brands across the market offer units ranging from small 150–300 Wh travel units to larger 1,000–2,000 Wh base-camp stations.
The genuine tradeoffs are worth naming clearly:
- Cost per watt-hour: All-in-one units cost more per usable watt-hour than a comparable DIY battery-plus-inverter setup.
- Repairability: If the internal BMS (battery management system) fails, most units are not field-repairable.
- Panel input limits: Every power station has a maximum solar input wattage and voltage ceiling. Exceeding it can void your warranty or damage the unit. Always verify compatibility before pairing panels.
Despite these caveats, for a beginner who values simplicity and safety over maximum cost efficiency, a mid-capacity LiFePO4-based portable power station paired with a 100–200W folding panel remains the most recommended starting configuration by experienced off-grid communities. It is the setup most likely to work reliably out of the box, charge safely, and survive beginner handling. best portable power stations
Sizing Your First System: A Practical Starting Point
Rather than over-engineer your first build, follow this beginner-friendly approach:
- Identify your two or three highest-priority devices and calculate their daily watt-hour draw
- Choose a battery/power station with at least 1.5× that figure to account for inefficiency and buffer
- Choose solar panel wattage that can realistically refill your battery in 4–6 hours of good sun (divide battery Wh by panel watts for a rough estimate)
- Start small, camp with it, note what falls short, and upgrade incrementally
The worst first purchase is a system that’s too complicated to troubleshoot when something doesn’t charge as expected. Simplicity and reliability beat theoretical efficiency every time at the beginner stage.
Final Recommendation
For most beginners, the evidence-based recommendation is clear: start with a LiFePO4 portable power station in the 500–1,000 Wh range paired with a monocrystalline folding panel in the 100–200W range. Verify that the panel’s voltage output falls within the power station’s accepted input range, prioritize units with MPPT charging built in, and choose a brand with documented warranty support and replacement part availability. The tradeoff is cost — this approach costs more upfront than a DIY modular system — but it dramatically reduces the chance of a frustrating first experience that puts you off solar entirely. Once you understand your real power needs after a few trips, a modular upgrade path will make far more sense.
Sources
- No source URLs were provided for this article. All claims reflect general industry consensus and publicly documented specifications. Readers are encouraged to verify current pricing and specifications directly with manufacturers before purchasing.
Disclosure: This article was produced with AI-assisted research and may contain affiliate links. VoltVentureLab may earn a commission on qualifying purchases at no additional cost to you.