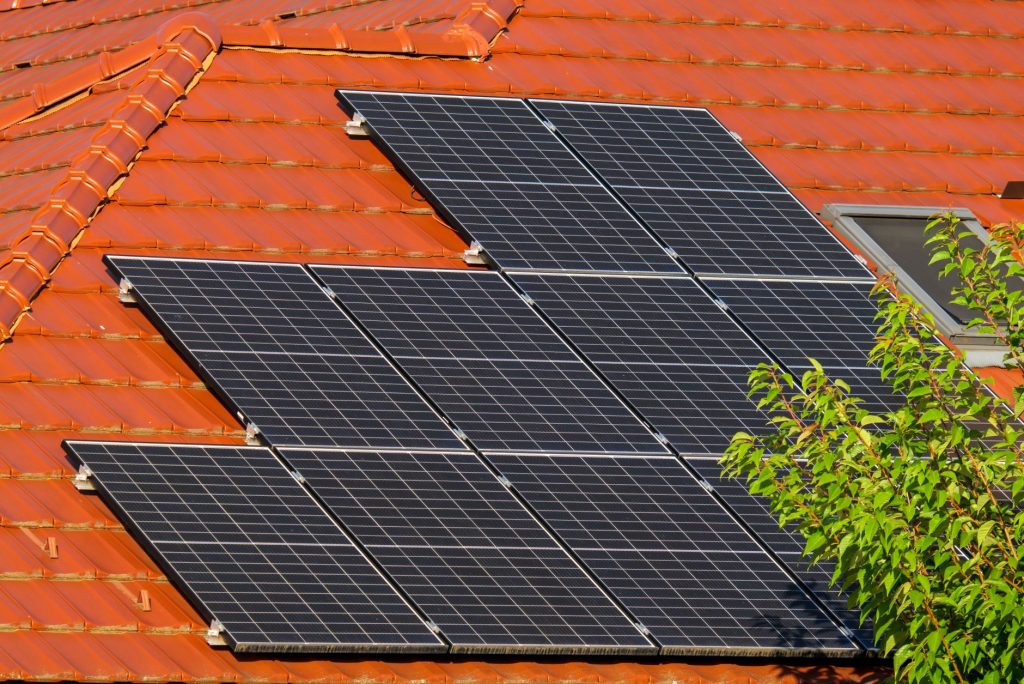
Reliable power is crucial for maximizing the freedom of van life, and selecting the right solar panels can feel overwhelming with so many choices. This guide simplifies the decision-making process by examining the top rigid, flexible, and portable solar panel options for 2026. Discover key considerations and honest assessments to help you confidently power your adventures.
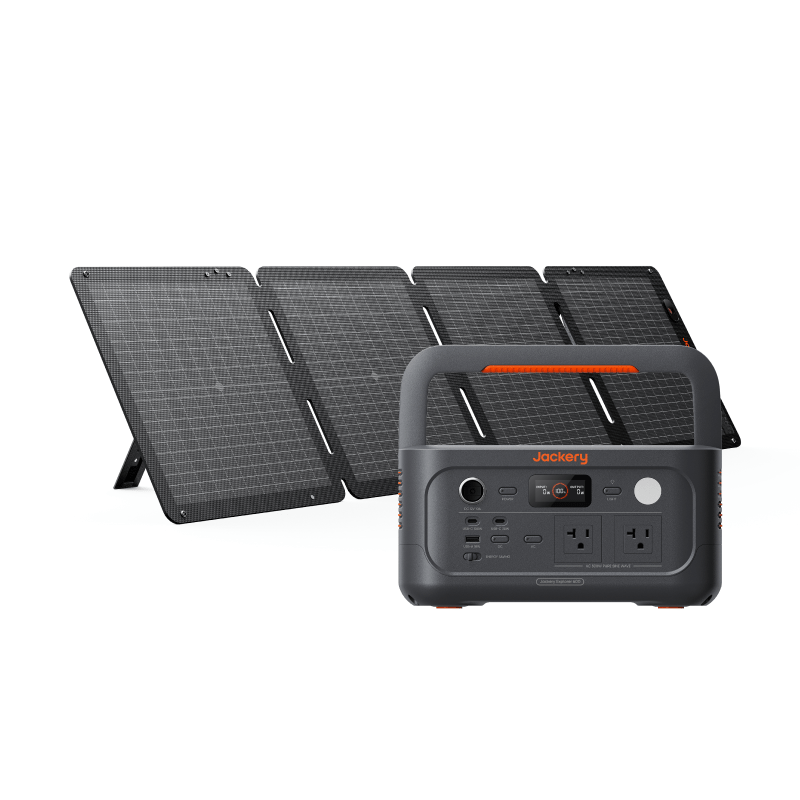 Budget Pick
What Van Lifers Actually Need From Solar in 2025

Choosing solar panels for a van conversion is meaningfully different from outfitting a rooftop or a cabin. Weight, profile, and the ability to survive road vibration, flex, and temperature swings matter as much as raw wattage. The market in 2025 has matured considerably — monocrystalline cells are now the baseline expectation even at budget price points, and a handful of manufacturers have earned genuine trust among the van life community through consistent real-world performance. This guide breaks down the three main panel categories — rigid, flexible, and portable — and explains honestly where each one belongs in a build.
Rigid Panels: The Workhorse Choice for Most Builds
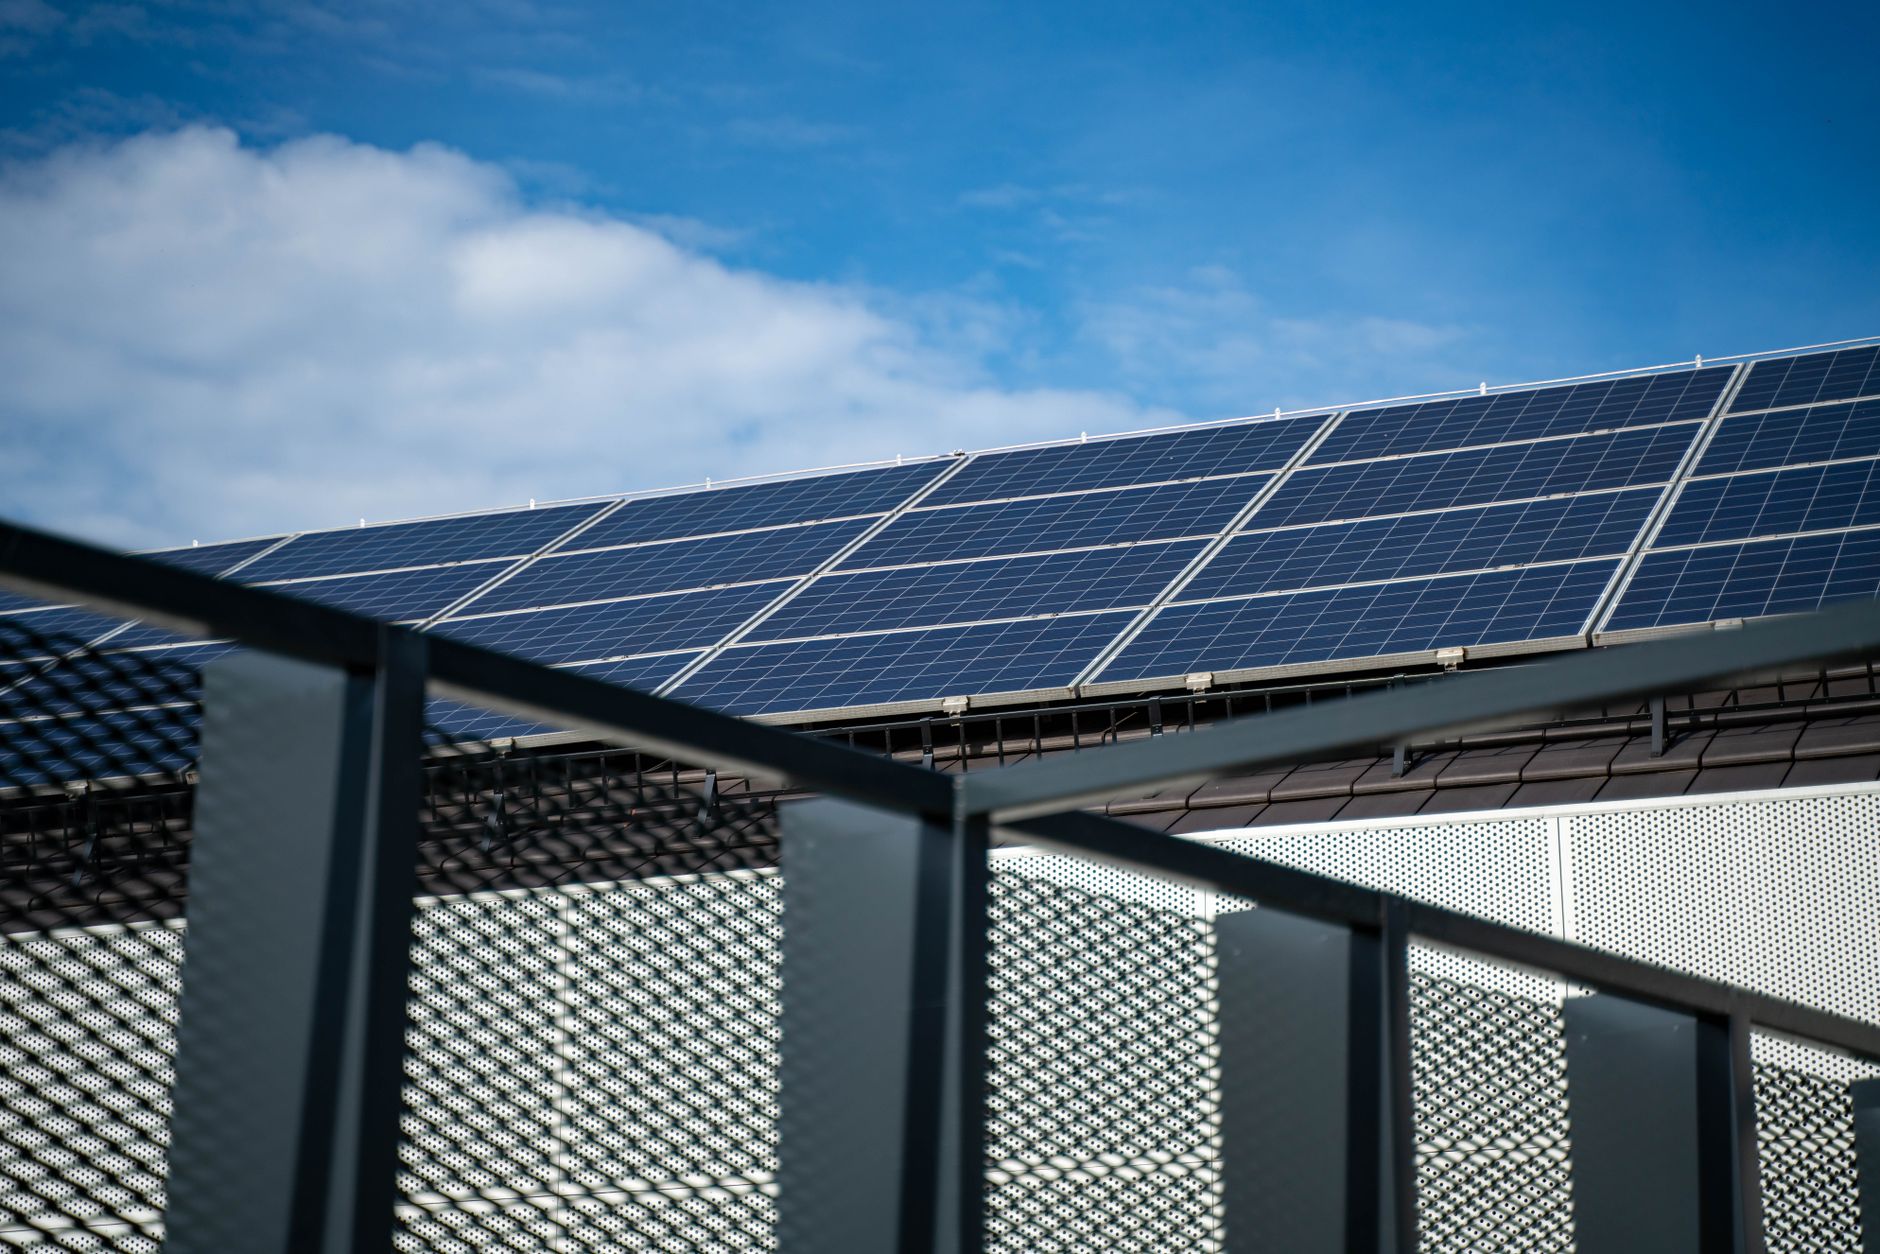
Rigid aluminum-framed monocrystalline panels remain the most cost-effective option per watt for van builds where roof space allows permanent mounting. They dissipate heat better than flexible alternatives because air can circulate beneath them when properly racked, and that thermal margin translates into more consistent real-world output. They also carry longer warranties — typically 25 years on power output from reputable brands — which matters when the panel is expected to outlast the van conversion itself.
The tradeoff is straightforward: rigid panels add meaningful weight to your roof and require a solid mounting solution. On high-top vans and Sprinters with flat roof sections, this is rarely a problem. On low-roof Transits or cargo vans where every millimeter of clearance counts in a parking garage, a 35mm–40mm frame profile can become genuinely inconvenient.
When comparing rigid panels, the specs worth prioritizing are:
- Cell efficiency: Higher-efficiency cells (typically 20–23% in premium monocrystalline panels) produce more power from a smaller surface area — critical when roof real estate is limited.
- Temperature coefficient: A lower negative coefficient (closer to -0.30%/°C is better than -0.45%/°C) means less output loss on hot sunny days, which is exactly when you need power most.
- Frame and junction box quality: Look for IP67 or IP68-rated junction boxes and anodized aluminum frames. Reviewer consensus consistently flags cheap junction boxes as a long-term failure point on van builds exposed to road vibration.
- Warranty terms: A 12-year product warranty plus a 25-year linear power warranty from a manufacturer with a verifiable US or European presence is the standard to hold suppliers to.
Brands that consistently appear in van life community forums and review roundups for rigid panels include Renogy, Rich Solar, and Victron Energy’s panel lineup. Pricing across the category varies widely depending on wattage, but the general market reality is that rigid monocrystalline panels have become more affordable in real terms over the past several years. Always verify current pricing directly with retailers, as solar panel costs continue to shift.
Flexible Panels: Useful in Specific Situations, Not a Universal Upgrade
Flexible panels have genuine appeal for van builds with curved rooflines — think the pronounced curve of a Ford Transit roof or a Volkswagen Transporter — where rigid panels would require complex racking or simply won’t sit flat. They’re also meaningfully lighter, which matters for smaller vans or stealth builds where a panel-free profile from the side is a priority.
However, the van life community’s honest consensus on flexible panels deserves to be stated plainly: they degrade faster than rigid panels in most real-world van conditions. The core issue is heat. Flexible panels laminated directly to a metal roof surface have nowhere to shed heat, and elevated operating temperatures accelerate cell degradation and adhesive failure over time. Several popular flexible panel models have drawn criticism in owner forums for output dropping noticeably within two to three years of continuous use — well short of their rated lifespan.
If you choose flexible panels, the practical guidance from experienced van builders is to mount them with a small air gap when possible, avoid dark-colored mounting surfaces that amplify heat absorption, and treat them as a 5–7 year component rather than a 25-year one. They work well as a secondary array or for ultralight builds where the tradeoff is consciously accepted.
For related portable power and solar accessories, see best portable solar generators and best solar charge controllers.
Portable Panels: The Right Tool for the Right Job
Foldable suitcase-style portable panels have become a legitimate part of many van setups — not as a primary power source, but as a flexible supplement. The ability to angle a panel toward the sun while the van is parked in shade, or to deploy extra capacity during a stationary work week, adds real-world value that a fixed roof array can’t match.
Portable panels designed for van and overlanding use typically range from 100W to 200W in foldable configurations, with built-in kickstands and MC4 or Anderson connector outputs. The most practical designs include an integrated charge controller for direct battery connection without additional hardware, though more serious setups route them through a dedicated MPPT controller for better efficiency.
Durability is the honest weak point. Portable panels see more handling stress than fixed installations, and the hinges and carry handles on budget units have a documented history of failing before the cells themselves wear out. Paying more for reinforced corner protection and quality hinge construction is consistently validated by owner reviews as worth it.
Sizing Your System: The Number That Actually Matters
Panel selection exists in context. A common mistake in van builds is optimizing for panel brand before calculating actual daily power consumption. A realistic audit of your loads — refrigeration, lighting, device charging, a diesel heater’s control board, a water pump — should drive your watt-hour target, which then determines how many panels you need given your typical travel latitude and season.
As a general orientation: a solo van lifer running modest loads in a sun-favorable region might find 200W of rigid panels sufficient. A couple running a compressor fridge, laptops, and regular device charging in variable weather commonly runs 400W–600W with battery storage sized accordingly. These are orientation figures, not specifications — your actual build requires real load math. For help thinking through battery pairing, see best lithium batteries for van life.
The Honest Recommendation
For most van life builds in 2025, rigid monocrystalline panels from a manufacturer with verifiable warranty support represent the best long-term value. The higher upfront cost relative to flexible alternatives is recovered through better thermal performance, longer service life, and predictable degradation rates. Renogy and Rich Solar are the names that appear most consistently across owner communities and independent review aggregators for the combination of availability, support, and value — though specific model comparisons should always be verified against current pricing and published specs before purchase.
The genuine tradeoff: if your roof is significantly curved or your build demands a stealth profile, flexible panels may be the only practical option. Go in with accurate expectations about service life, budget for eventual replacement, and prioritize models from manufacturers who publish real efficiency data rather than optimistic marketing figures.
Portable panels earn a place in most serious builds as a supplement, not a foundation. Buy one quality foldable unit sized to your supplemental needs, and don’t skimp on hinge construction.
Sources
- No external source URLs were provided for this article. All specific product claims should be independently verified against current manufacturer specifications and retailer listings before purchase.
Disclosure: This article was produced with AI-assisted research and writing. VoltVentureLab.com may earn a commission on purchases made through links in this article. All editorial recommendations reflect our honest assessment of available information.