
Accurately sizing a solar system is crucial for a comfortable and reliable van life experience, yet determining the right components can seem daunting. This guide simplifies that process, providing a clear, step-by-step method to calculate your specific power requirements. By understanding your energy consumption, you can confidently select the ideal solar panels, batteries, and charge controller for your mobile setup.
Why Most Van Solar Builds Go Wrong (And How to Fix It Before You Buy)

The most common van solar mistake is starting with panels. Builders browse a 400W kit, guess it sounds right, buy it, and end up either undersized on cloudy days or oversized with wasted roof space. The correct sequence — supported consistently across published sizing guides — runs in the opposite direction: measure your daily energy use first, then size the battery bank, then size the solar array to refill it. This article walks through that workflow as a practical, step-by-step calculator you can run with a pencil and a phone.
Step 1 — Build Your Load List (Daily Watt-Hours)
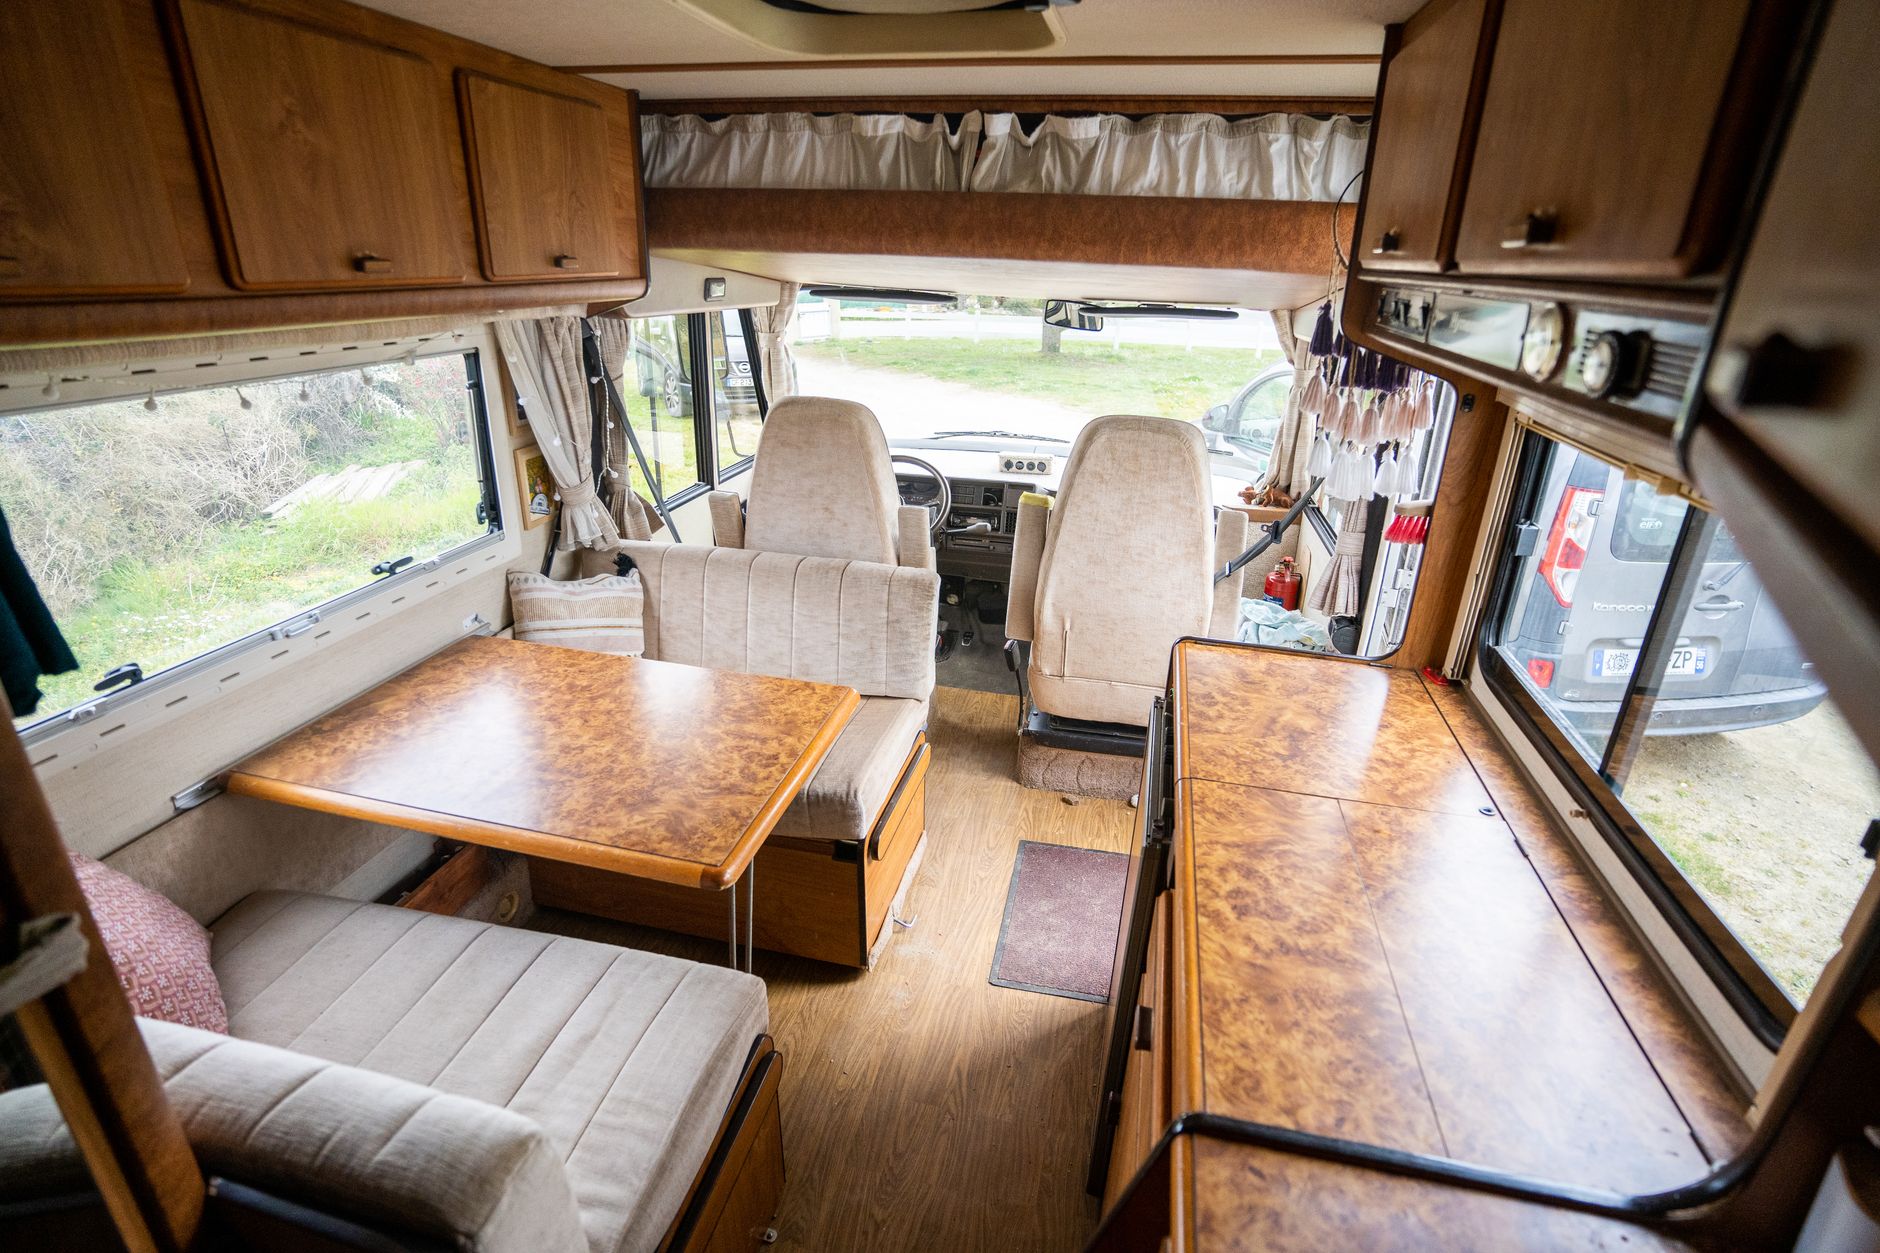
Every sizing decision flows from one number: your daily watt-hours (Wh/day). To find it, list every electrical device you plan to run, record its wattage, estimate how many hours per day you’ll actually use it, and multiply. Then add every line together.
- Watts × Hours/Day = Wh/Day per device
- Sum all devices to get your total daily Wh load
A realistic example for moderate full-time van use might look like this: a 12V compressor fridge running roughly 8–10 hours (40–60Wh), a laptop charged once or twice (45–90Wh), LED lighting for 4 hours (20–40Wh), phone and device charging (10–20Wh), and a fan for 6 hours (15–30Wh). That example totals roughly 130–240Wh/day for light use — before adding any heavier loads like an air conditioner, induction cooktop, or CPAP machine, which can multiply the total quickly.
Published guides consistently flag underestimating daily loads as the leading cause of undersized systems. Be honest about how long appliances actually run, not how long you hope they will.
Step 2 — Size Your Battery Bank
Once you have your daily Wh total, decide how many days of autonomy you need — meaning how many cloudy or low-sun days your system should survive without shore power or driving charge. One day of autonomy is a baseline; two to three days is more realistic for extended travel in variable weather.
Battery bank formula: Daily Wh × Days of Autonomy ÷ Usable Depth of Discharge = Required Nominal Capacity (Wh)
Chemistry matters enormously here. Lithium (LiFePO4) batteries are favored in nearly every current sizing guide because they deliver close to 100% of their rated capacity as usable energy. AGM and lead-acid batteries, by contrast, should only be discharged to about 50% of their rated capacity — which means you need roughly twice the nominal amp-hours to get the same usable energy as lithium. For a van build where weight and space are real constraints, lithium’s advantage is significant.
Published rule-of-thumb ranges from current guides cluster around 100Ah for minimal use, 200–400Ah lithium for typical full-time van living, and larger banks for heavy loads or extended off-grid stays. Convert amp-hours to watt-hours by multiplying by your system voltage (a 200Ah lithium bank at 12V stores 2,400Wh).
Step 3 — Size Your Solar Array
With your daily Wh target established, you can now calculate the solar panel array needed to refill that bank each day. The core formula is straightforward:
Required Solar Watts = Daily Wh ÷ Peak Sun Hours ÷ System Efficiency Factor
Peak sun hours are not the same as daylight hours. They represent the equivalent number of hours per day that your location receives full, direct irradiance (roughly 1,000W/m²). Values typically range from about 3–4 hours/day in the Pacific Northwest or northern winters to 5–6+ hours/day in the Southwest desert. Using your worst-case travel region — not the best-case — is the responsible approach.
System efficiency accounts for real-world losses from wiring resistance, charge controller conversion, battery round-trip losses, and heat. Published guides treat practical system efficiency at roughly 70%–85%, with a commonly cited conservative factor of 0.75 for general planning. After dividing by peak sun hours and efficiency, most guides recommend adding a further 20%–50% buffer for cloudy days, shading, and seasonal variation.
Using 200Wh/day as an example with 4 peak sun hours and a 0.75 efficiency factor: 200 ÷ 4 ÷ 0.75 = ~67W of solar as a bare minimum — before adding a real-world weather buffer. With a 1.5× buffer applied, that becomes roughly 100W. For heavier loads at 600Wh/day in the same conditions, the math yields approximately 200W minimum and 300W with buffer. This is why published guides land on the ranges they do.
Published Rule-of-Thumb Ranges (From Sizing Guides)
- Minimal/part-time van use: ~200–300W solar, ~100Ah battery — suitable for lighting, phone charging, and a small fan
- Typical full-time van use: ~400–800W solar, 200–400Ah lithium — covers fridge, laptop, lighting, fans, and moderate loads
- Heavy off-grid use or poor solar conditions: 800–1,500W+ may be required, especially with high-draw appliances or extended cloudy travel
These ranges recur across multiple current sources and represent a reasonable starting point — but they are not substitutes for running your own load audit in Step 1. best solar panels for van life
Component Specs That Move the Needle
- Roof space: Physical roof area is a hard ceiling on your array size. A standard cargo van roof typically fits 400–600W of rigid panels; flexible panels can add more but often underperform rigid equivalents in heat.
- System voltage: 12V is workable for systems under roughly 600–800W. For larger arrays or heavier loads, 24V is increasingly preferred because it is more efficient, runs cooler, and reduces required wire gauge and associated costs.
- MPPT charge controller: Must be rated for your array’s open-circuit voltage and short-circuit current with appropriate headroom. Mismatched controllers are a common and costly installation error.
- Inverter sizing: For AC loads, choose an inverter rated above your peak simultaneous draw, with 20%–30% headroom recommended. Running an inverter near its rated limit shortens its life and risks thermal shutoff.
- Battery monitor: A shunt-based battery monitor is strongly recommended for commissioning. It lets you verify your actual daily consumption against your estimates and adjust the system before you’re stranded somewhere remote. best battery monitors for off-grid solar
The Honest Tradeoffs
The sizing approach described here is well-supported and reliable — but it has real limits. Winter performance is the most common disappointment: a system sized for 4 peak sun hours may only see 2–3 hours in December at northern latitudes, cutting output by 30–50%. Guides consistently flag this as the leading cause of insufficient power in cold months. The answer is to size for your worst expected conditions, not your best, or to budget for a backup charging source (alternator charging, shore power, or a generator).
Lithium batteries carry a higher upfront cost than AGM alternatives. For a budget-constrained build, AGM is a legitimate choice — just apply the 2× nominal capacity rule and accept the added weight.
Finally, no published calculator replaces monitoring your actual system after installation. Real usage almost always differs from estimates. van life electrical system guides
Evidence-Based Recommendation
For most full-time van dwellers, the sizing guides converge on a practical starting point: 400–600W of solar, a 200Ah lithium battery bank at 12V (or equivalent at 24V), a properly rated MPPT controller, and a battery monitor. This configuration, sized using the load-audit-first method above, handles the typical full-time load profile — fridge, laptop, lighting, fans, and device charging — with reasonable buffer for cloudy days. If your load audit produces a daily Wh figure above roughly 600–800Wh, move to 24V and plan for 600W+ of panels. Do not skip the load audit. It is the one step that makes every other number honest.
Sources
- Sungold Solar — RV Solar Panel Size Calculator
- Cascade Solar RV Solutions — Step-by-Step Sizing Guide
- US Solar Supplier — RV Solar Panels: Sizing and Installing
- The Van Smith — How Many Solar Panels for a Camper?
- OG RVs — How Much Solar for an RV?
- Renogy — How Much Solar Do I Need for My RV?
- Backyard Provider — How Much Solar Power for a Camper?
Disclosure: This article was produced with AI-assisted research and editorial review. VoltVentureLab.com may earn a commission on purchases made through affiliate links at no additional cost to you.