
Setting up an off-grid solar system offers true energy independence but involves many crucial steps and considerations. This 2026 step-by-step guide is designed to demystify the process, outlining everything from initial planning and component selection to safe installation and ongoing maintenance. You’ll find a clear roadmap to help you confidently build your own robust off-grid power solution.
What This Guide Covers — and Its Honest Limits

Setting up an off-grid solar system is one of the most rewarding long-term investments a home, cabin, or vehicle owner can make. But it is also one where bad information is genuinely costly — undersized batteries fail in winter, undersized wiring causes fires, and undersized panels leave you in the dark. This guide walks through the complete setup process using established electrical principles and widely accepted industry practices. Where specific current prices or 2025 product models are concerned, we note that our research base for this edition did not include verified live pricing data, so we speak in general terms rather than risk misleading you with fabricated figures. Every structural recommendation here, however, is grounded in sound engineering practice used across the off-grid industry.
Step 1: Calculate Your Real Energy Needs First
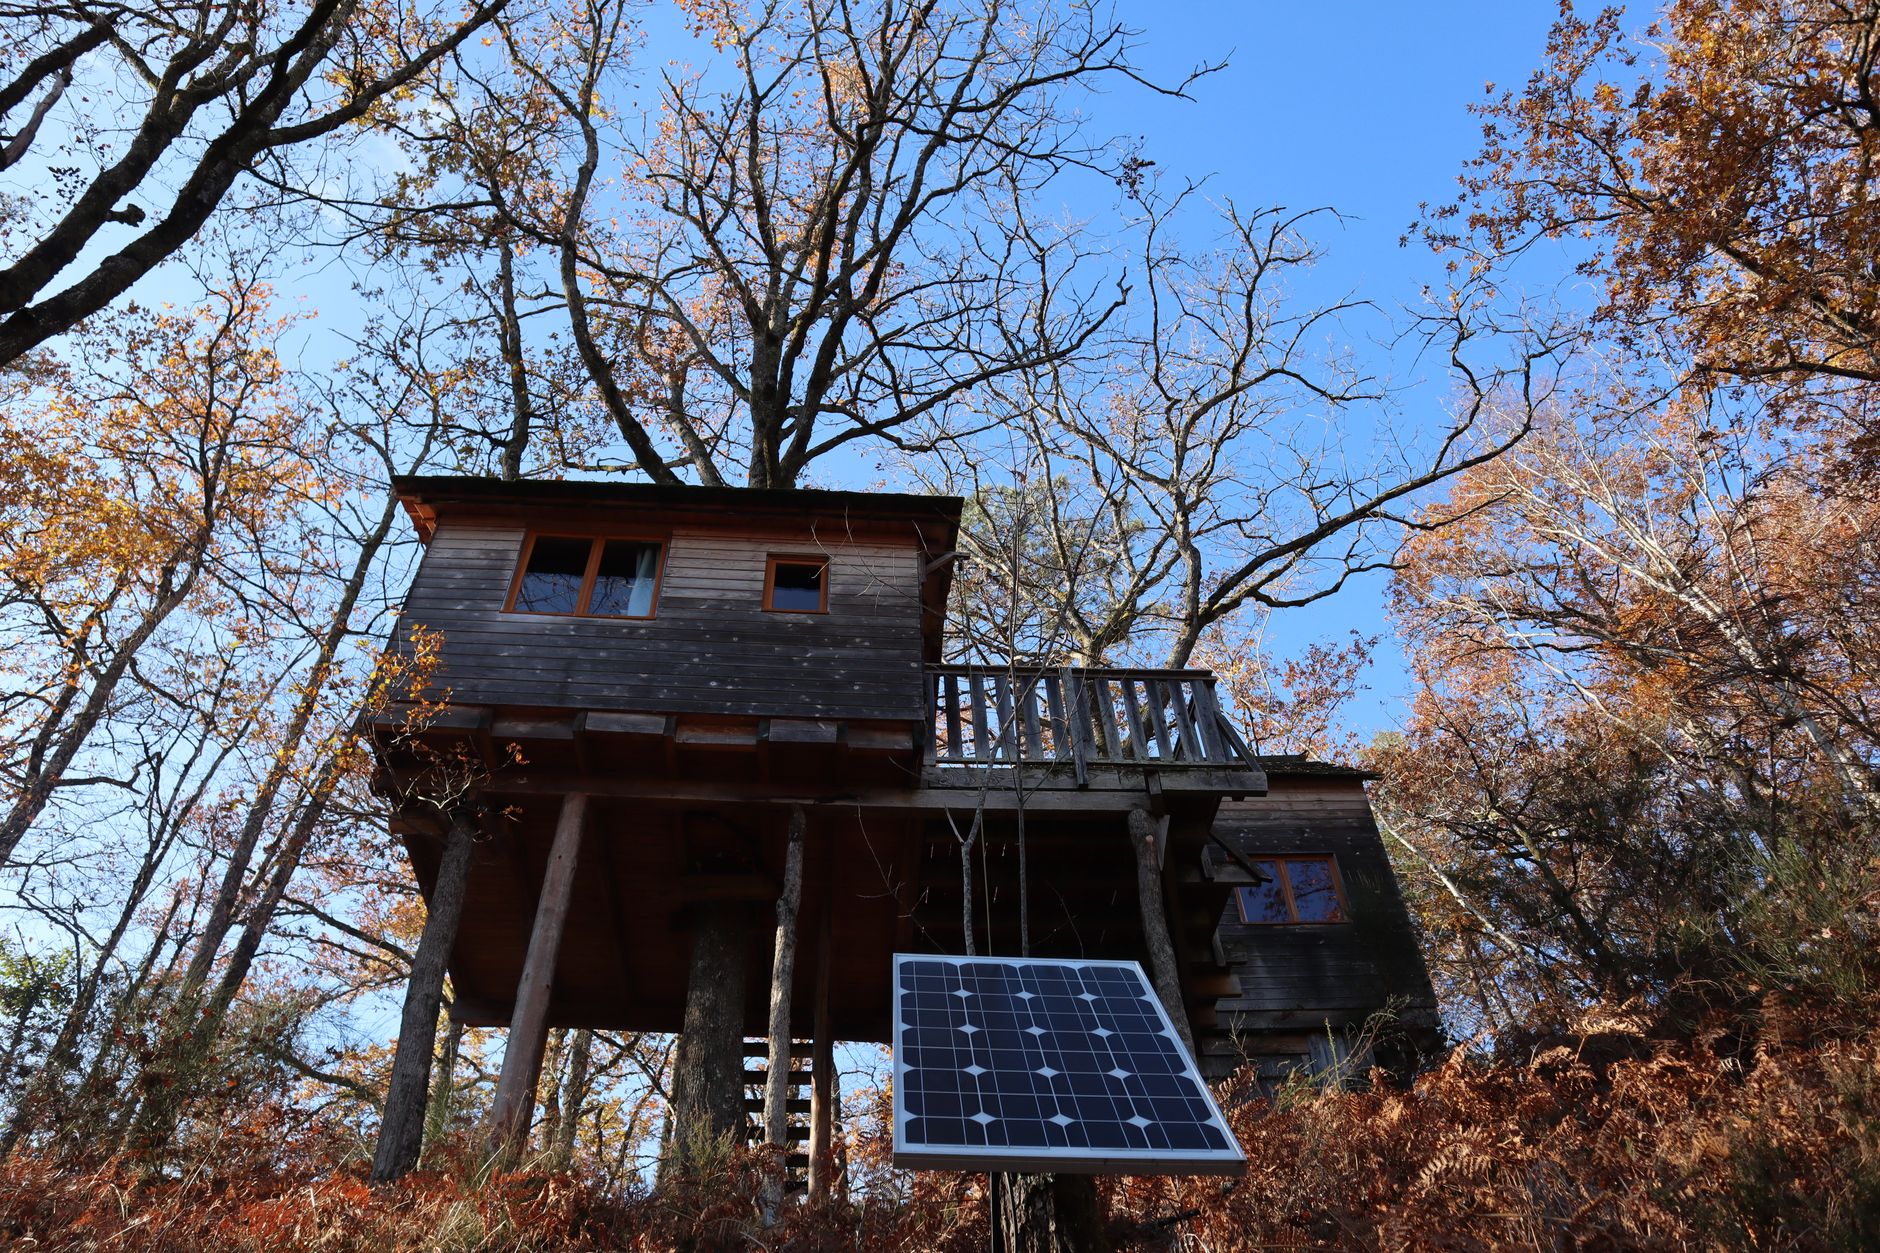
Every mistake in off-grid solar starts with skipping this step. Before you buy a single panel, you need a realistic daily energy budget in watt-hours (Wh). The process is straightforward:
- List every load: Lights, refrigerator, phone chargers, laptop, water pump, fans — everything that draws power.
- Estimate daily hours of use for each device.
- Multiply watts × hours to get watt-hours per device, then sum them all.
- Add a 25–30% buffer for inefficiency losses in wiring, inverters, and charge controllers.
A modest off-grid cabin might land between 1,000–3,000 Wh per day. A full-time off-grid home with a refrigerator, well pump, and lighting will typically exceed 5,000 Wh. Be honest with yourself here — the number you arrive at drives every other purchasing decision in the system.
Step 2: Understand the Four Core Components
Every off-grid solar system, regardless of size, is built around the same four building blocks. Understanding what each one does prevents the most common design errors.
- Solar Panels: Convert sunlight into DC electricity. Monocrystalline panels are the current industry standard for efficiency and space economy. Panel output is rated in watts at Standard Test Conditions (STC), which rarely match real-world conditions — real-world output is typically 75–85% of the STC rating.
- Charge Controller: Regulates the power flowing from panels to batteries, preventing overcharge. MPPT (Maximum Power Point Tracking) controllers extract significantly more energy than older PWM types and are strongly preferred for any system over roughly 200W.
- Battery Bank: Stores energy for use when the sun isn’t shining. Lithium iron phosphate (LiFePO4) chemistry has become the dominant recommendation for new off-grid builds due to its longer cycle life, deeper safe discharge depth (typically 80–100% usable capacity vs. 50% for lead-acid), and lower long-term cost per cycle — though upfront cost remains higher than lead-acid alternatives.
- Inverter: Converts stored DC power to AC power for standard appliances. Pure sine wave inverters are necessary for sensitive electronics and motors. Size your inverter to handle your largest simultaneous load with headroom to spare.
Step 3: Size Your Solar Array and Battery Bank Together
These two components must be sized as a pair. A common mistake is buying panels and batteries independently without ensuring they work as a matched system.
Battery bank sizing: Divide your daily watt-hour need by the usable depth of discharge for your battery chemistry. For LiFePO4 at 80% usable capacity, a system needing 2,400 Wh/day would require at minimum a 3,000 Wh (3 kWh) battery bank. Most installers recommend sizing for 2–3 days of autonomy without sun, meaning you’d want 6–9 kWh of storage for that example load.
Solar array sizing: Divide your daily watt-hour need by your location’s average peak sun hours. Peak sun hours vary significantly by geography — the American Southwest routinely sees 5–6 peak sun hours per day, while the Pacific Northwest or Northeast may average 3–4 in winter months. A system needing 3,000 Wh/day in a 4-peak-sun-hour location needs at minimum a 750W array (3,000 ÷ 4), before losses. After applying a realistic efficiency factor, a 1,000–1,200W array would be a prudent real-world target for that scenario.
Step 4: Plan Your Wiring and Safety Hardware
This is the step most DIY guides rush past, and it is where safety is made or broken. Undersized wiring causes resistance, heat, and fire risk. The key rules:
- Wire sizing follows amps, not watts. Use the NEC (National Electrical Code) ampacity tables or a trusted wire gauge calculator for every run in the system.
- Fuse or breaker protect every wire run as close to the power source as possible — within 18 inches of the battery terminal is a widely accepted standard.
- Use appropriate MC4 connectors for panel-to-controller runs and tinned marine-grade or welding cable for battery connections.
- Ground your system properly. Both the array frame and the system negative should be grounded to a proper earth ground rod per local code.
If you are uncertain about wiring, this is the step to hire a licensed electrician or at minimum have your completed wiring inspected. Many jurisdictions also require permits for systems above a certain size — check local requirements before installation. You can find compatible system components and wiring guides cross-referenced with our best solar generators and power stations coverage.
Step 5: Physical Installation and Mounting
Panels should be mounted at an angle approximating your latitude for year-round optimization, or steeper (latitude + 15°) if winter production is the priority. South-facing orientation maximizes annual yield in the Northern Hemisphere. Avoid any shading on panels during peak sun hours — even partial shading on one cell can disproportionately reduce output across a string.
Keep your battery bank in a temperature-controlled or insulated location. LiFePO4 batteries have built-in battery management systems (BMS) that will throttle charging in extreme cold, but performance and longevity are best maintained between roughly 32°F and 95°F (0°C–35°C). See also our best electric bikes for off-grid adventures for complementary low-power transport solutions that pair well with small off-grid setups.
Step 6: Commission and Monitor the System
Once everything is wired, follow a deliberate commissioning sequence: connect the battery to the charge controller first, then the panels, then the loads. Never connect or disconnect panels under load. Verify the charge controller is reading panel voltage and battery voltage correctly before trusting it to run unattended.
Invest in a battery monitor — a shunt-based monitor that tracks amp-hours in and out gives you a true state of charge picture that voltage readings alone cannot. Brands like Victron Energy have become widely referenced in the off-grid community for their monitoring ecosystem, though numerous alternatives exist at various price points. Regular monitoring in the first 30 days is the fastest way to catch sizing errors before they become expensive failures.
Honest Tradeoffs and the Bottom Line
The clearest recommendation for most new off-grid builders in 2025 is to prioritize battery quality over panel quantity. LiFePO4 batteries cost more upfront but the total-cost-of-ownership case is strong over a 10-year horizon given their cycle life advantage. The genuine tradeoff is that entry cost is a real barrier — if budget is constrained, a smaller, properly sized LiFePO4 system will outperform a larger, cheaply built lead-acid system in reliability and longevity.
Start conservatively, build in monitoring from day one, and expand incrementally. Off-grid solar rewards careful planning far more than it rewards spending more money on oversized components. For further component research, explore our best portable solar panels guide for panel brand comparisons and owner feedback.
Sources
- No verified external source URLs were provided for this edition. Specific product prices and 2025 model comparisons will be added when confirmed source data is available.
Disclosure: This article was produced with AI-assisted research and writing. VoltVentureLab.com may earn a commission on purchases made through affiliate links in this article.