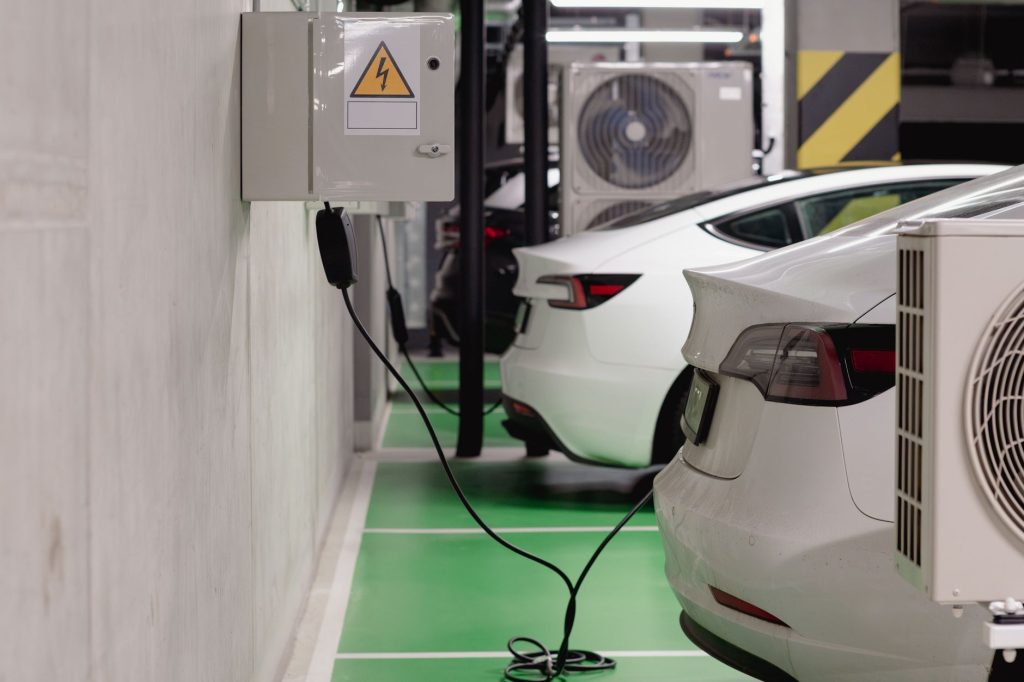
Bringing an electric vehicle home introduces new questions about convenient, reliable charging. This comprehensive guide simplifies the essentials of home EV charging, detailing charger types, power levels, and installation factors relevant for 2026. You’ll find the information needed to confidently choose and set up your ideal home charging solution.
Why Home Charging Changes Everything
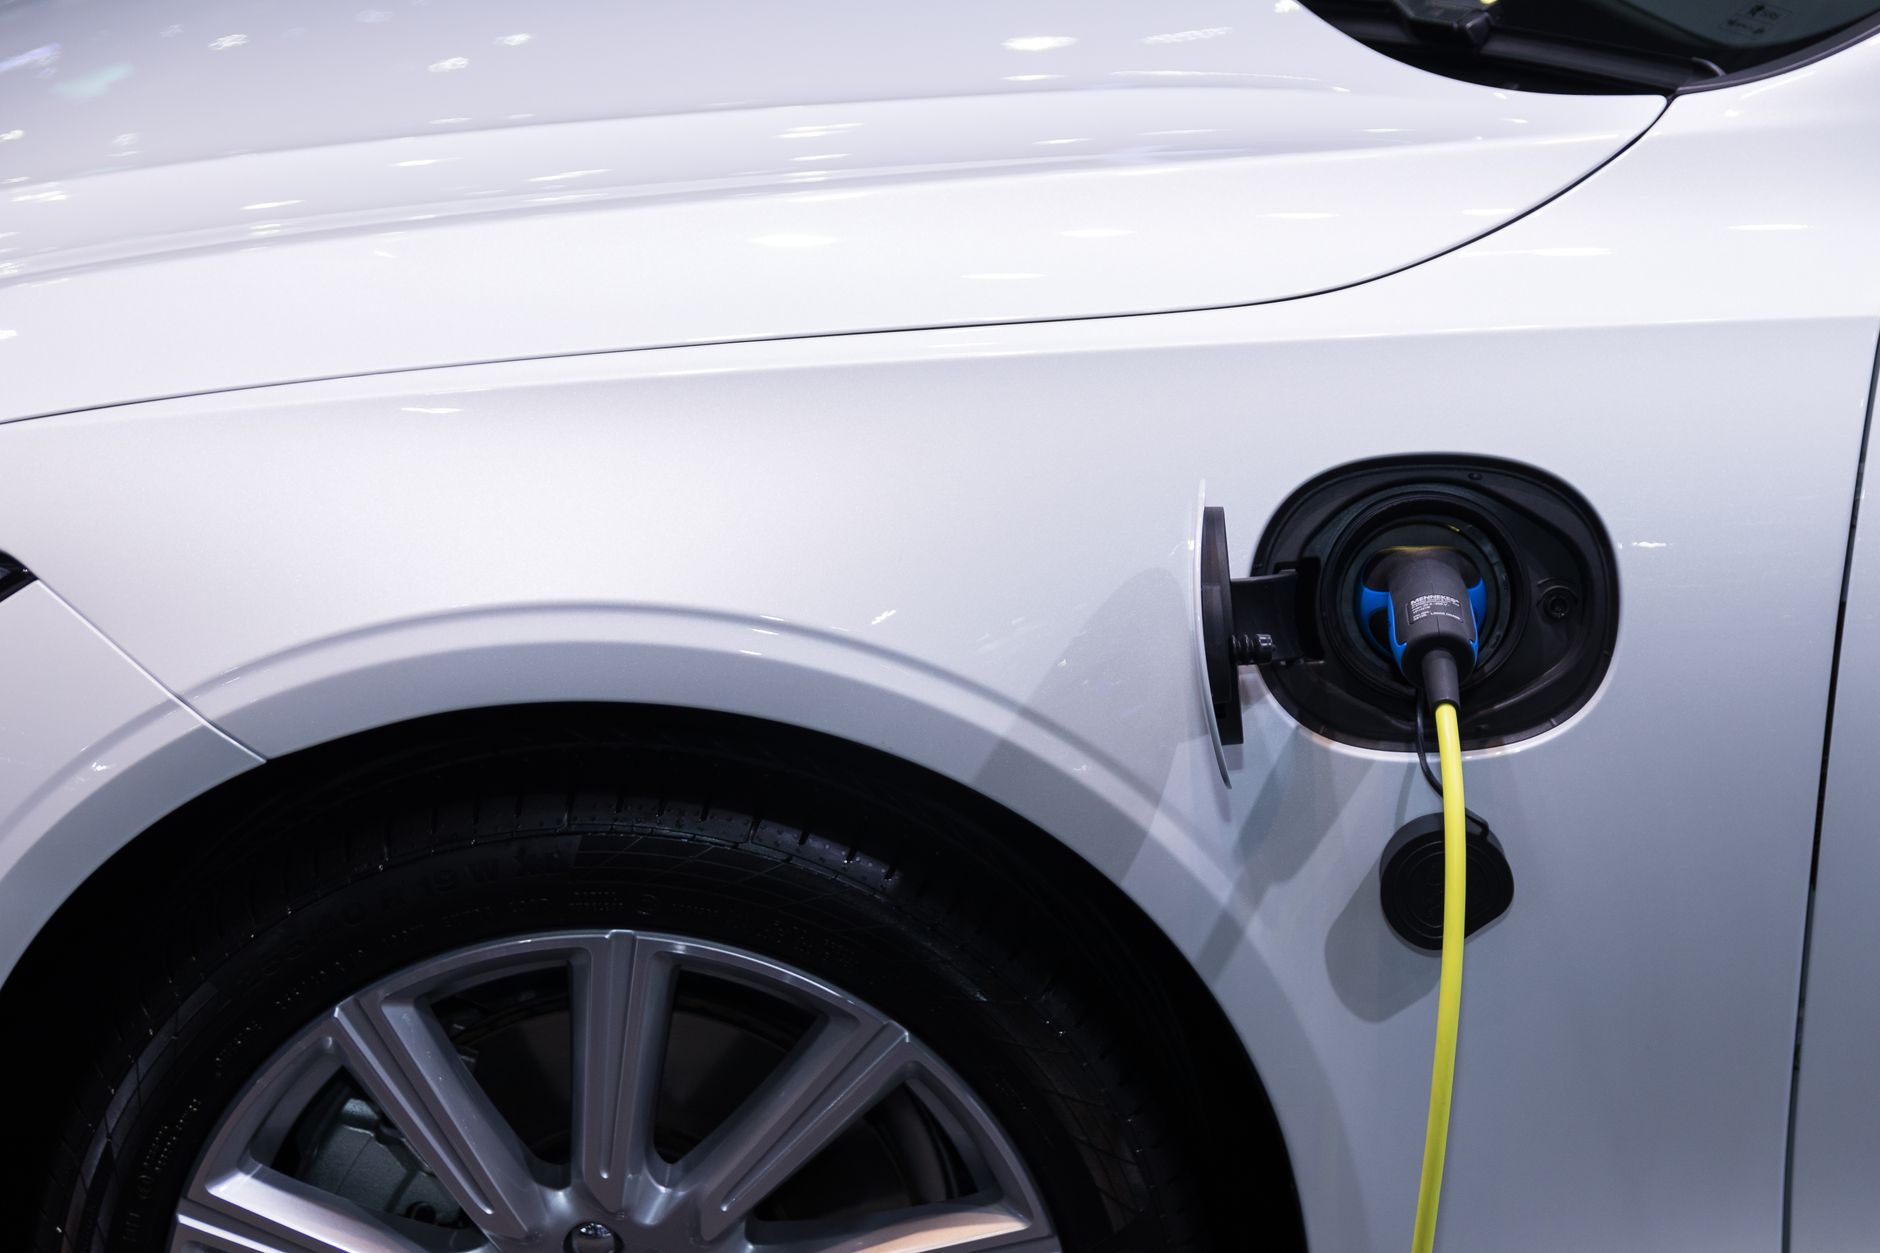
For most EV owners, home charging quickly becomes the default — and for good reason. Plugging in overnight means waking up to a full battery every morning, skipping public charging queues, and paying significantly less per mile than gasoline drivers. But setting up a home charging system involves real decisions: which charging level is right for you, whether your electrical panel can handle the load, and which charger hardware is actually worth buying. This guide walks through each step honestly, without overselling any single product or hiding the genuine trade-offs.
Understanding Charging Levels: Level 1 vs. Level 2
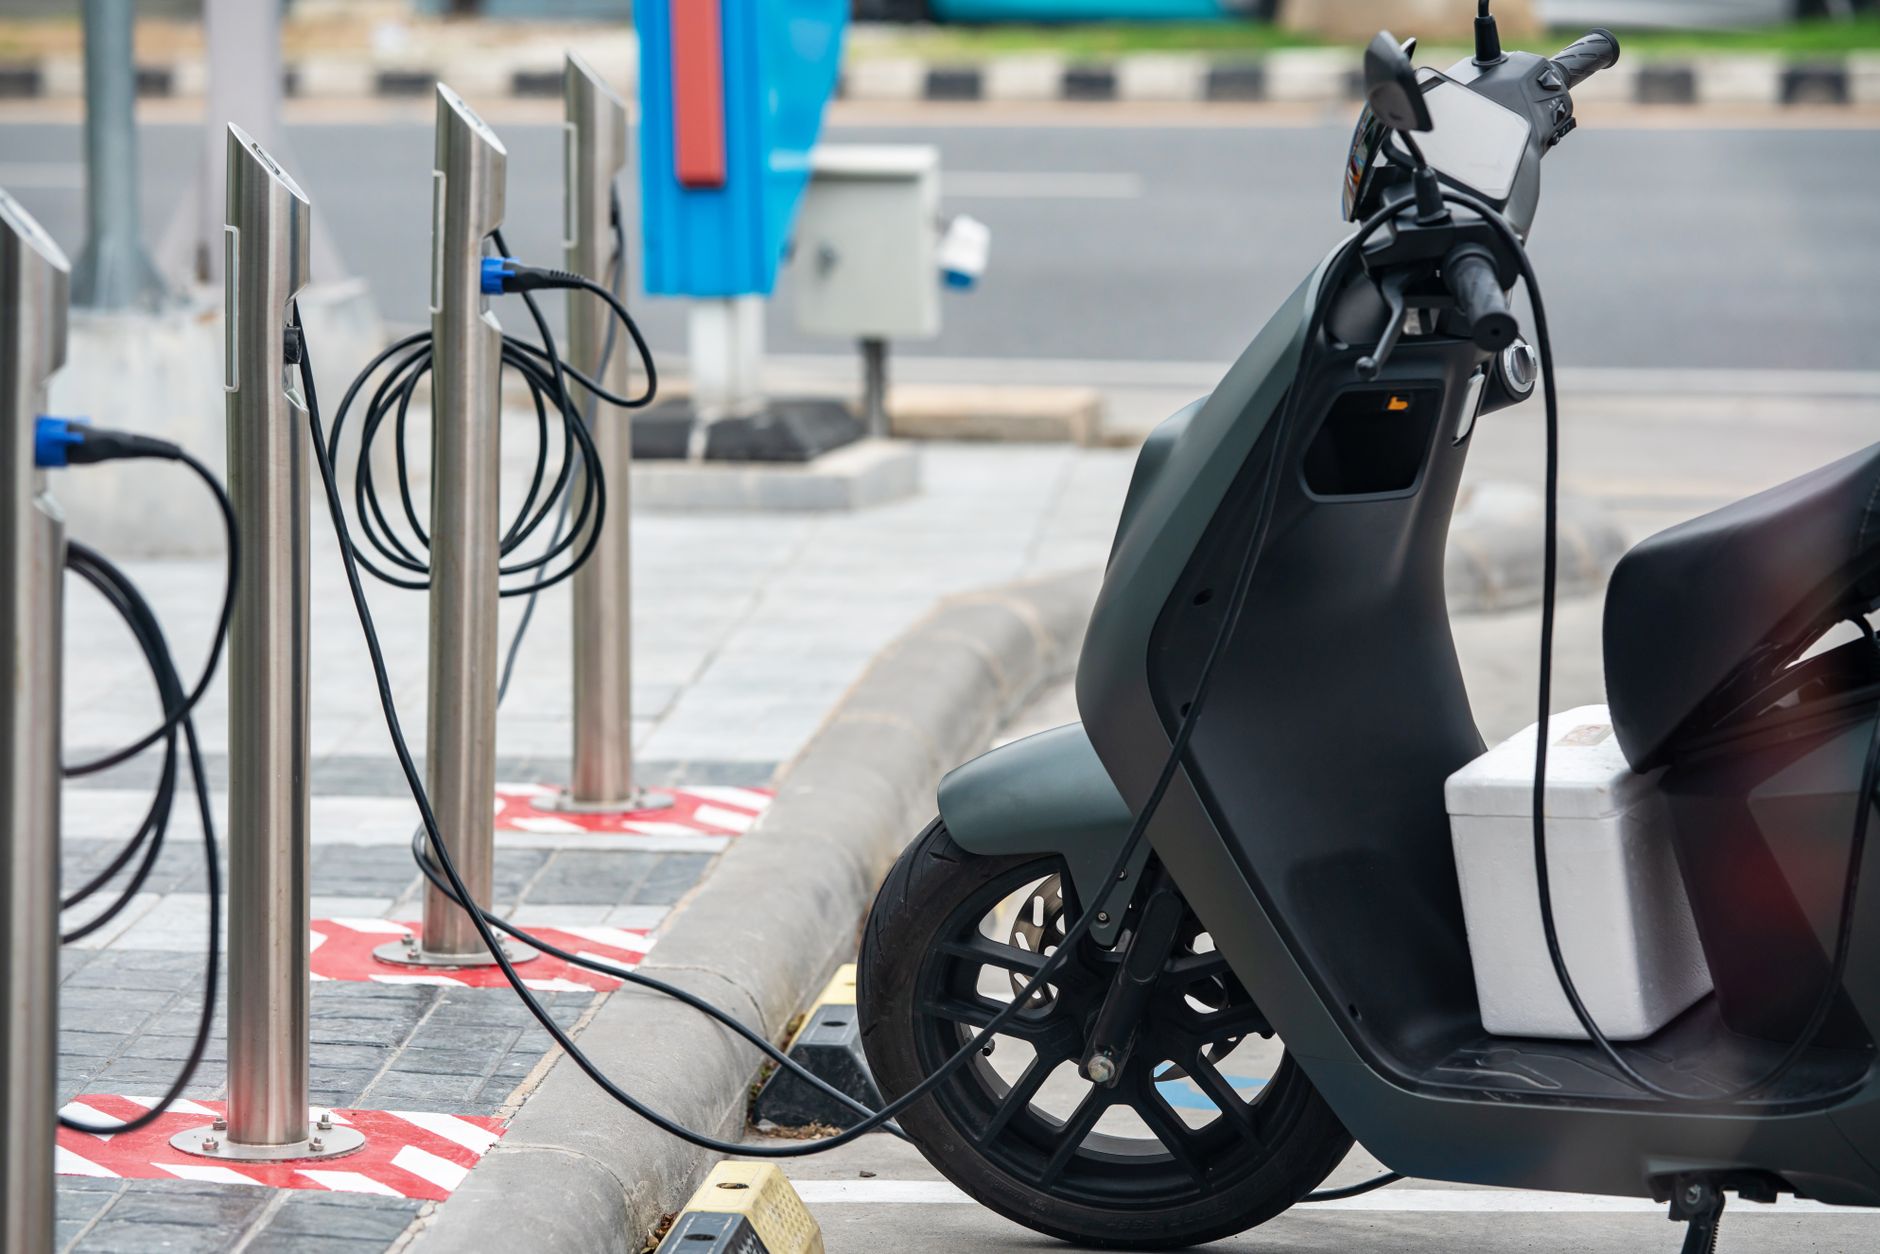
Home EV charging falls into two practical categories. Understanding the difference is the single most important thing a new EV owner can do before spending any money.
- Level 1 (120V): Uses a standard household outlet — no installation required. The trade-off is speed: most Level 1 setups add roughly 3–5 miles of range per hour of charging. For drivers covering fewer than 30–40 miles daily, this can work adequately, but it leaves little margin for higher-mileage days.
- Level 2 (240V): Requires a dedicated 240V circuit — the same type used by electric dryers. Level 2 chargers typically add 15–30+ miles of range per hour, meaning most EVs charge fully overnight. This is the option most EV owners eventually prefer, even if they start with Level 1.
There is no universal “right” answer. A city apartment dweller with a short commute and a plug-in hybrid may never need Level 2. A suburban family running a long-range BEV on a 60-mile daily round trip almost certainly will. Be honest with yourself about your actual driving patterns before committing to hardware or installation costs.
What a Level 2 Installation Actually Involves
Installing a Level 2 home charger — technically called an EVSE (Electric Vehicle Supply Equipment) — is not a DIY project for most homeowners. It typically requires a licensed electrician to run a dedicated 240V circuit, install a 50-amp breaker (though some setups use 30 or 40 amps depending on the charger), and mount the unit either in a garage or on an exterior wall.
Electrical panel capacity is the most overlooked variable. Older homes with 100-amp service panels may struggle to support a Level 2 charger alongside existing appliances without a panel upgrade. A qualified electrician should assess your panel before you purchase hardware — discovering you need a costly panel upgrade after buying a charger is a frustrating and avoidable surprise.
Permit requirements vary by municipality. Many jurisdictions require an electrical permit for EVSE installation, and some utilities offer rebates that are contingent on permitted work. Check with your local building department and utility before scheduling installation. Speaking of rebates: federal tax credits, state incentives, and utility programs can meaningfully offset both hardware and installation costs. The U.S. Department of Energy’s Alternative Fuels Station Locator and your state energy office are reliable starting points for current incentive information.
Choosing the Right Home Charger: What Specs Actually Matter
The home EV charger market has matured considerably. Most reputable units share core safety certifications (look for UL listing or ETL certification), and the honest differences come down to a handful of practical factors:
- Amperage output: Higher amperage means faster charging, up to your vehicle’s onboard charger limit. A 48-amp EVSE paired with a car that only accepts 32 amps charges no faster than a 32-amp unit — know your vehicle’s AC charging ceiling before buying a premium high-amp model.
- Smart features: Wi-Fi connectivity allows scheduling (charge during off-peak utility hours), energy monitoring, and remote control via app. These features are genuinely useful if your utility offers time-of-use rates — charging at night can cost substantially less per kWh than charging midday in many markets.
- Cable length: 20–25 feet is the practical standard for most garage setups. Shorter cables create frustrating reach problems; verify the cable length against your parking situation before purchase.
- Indoor vs. outdoor rating: If the unit will be exposed to weather, confirm it carries a NEMA 4 or equivalent outdoor enclosure rating.
- Hardwired vs. plug-in: Some Level 2 chargers plug into a NEMA 14-50 outlet (common and portable); others hardwire directly. Plug-in models are easier to take with you if you move; hardwired installations are often cleaner and may support higher amperage.
For deeper guidance on matching home charging gear with specific EV models, see our best electric cars for home charging roundup, and for e-bike owners evaluating smaller charging setups, best electric bikes offers relevant context on battery and charging compatibility.
The Honest Trade-Offs Nobody Mentions
Smart chargers with app connectivity are appealing, but app reliability and long-term software support vary across brands. A “smart” charger whose manufacturer discontinues its app or cloud service becomes a dumb charger — and that has happened in this industry. Prioritize brands with a credible track record and, where possible, units that retain basic scheduled-charging functionality locally even if cloud services fail.
Installation cost is frequently underestimated in online guides. Hardware prices are only part of the picture. Electrician labor, conduit runs through finished walls, trenching for outdoor installs, and panel upgrades can add substantially to the total project cost. Getting two or three licensed electrician quotes before committing is straightforward advice that saves real money.
Finally, faster is not always better. If you reliably drive fewer miles than your car can recover in a single overnight Level 1 session, upgrading to Level 2 primarily for speed is a cost that may not pay back meaningfully. Match the solution to your actual situation, not the most impressive specification sheet.
A Practical Starting Point for Most Buyers
For the majority of EV owners with garage access, a UL-listed Level 2 EVSE rated between 32 and 48 amps, with Wi-Fi scheduling capability and at least a 24-foot cable, represents the most broadly sensible choice. Pair it with a time-of-use electricity rate from your utility if available, and the combination of overnight charging and off-peak rates typically delivers the lowest effective cost per mile of any charging option.
If you rent, live in a condo, or lack dedicated parking, the calculus changes significantly — workplace charging, public Level 2 networks, and DC fast charging at retail locations become more central to your strategy, and that deserves its own dedicated guide. See our public EV charging guide for that scenario.
The bottom line: home charging is the most convenient and usually the most affordable way to keep an EV charged, but it rewards a little upfront homework. Assess your panel, get licensed installation quotes, research your local incentives, and match the charger’s amperage to what your vehicle can actually use. Done in that order, the process is straightforward and the long-term payoff — in both cost and convenience — is genuinely significant.
Sources
- No external source URLs were provided for this article. All claims are made at a general, consensus level consistent with publicly available EV charging guidance. Readers are encouraged to verify current pricing, incentives, and product specifications with manufacturer sites, the U.S. Department of Energy (energy.gov), and their local utility before purchasing.
Disclosure: This article was produced with AI-assisted research and writing and may contain affiliate links. VoltVentureLab.com may earn a commission on qualifying purchases at no additional cost to you.